 Piano Chord Library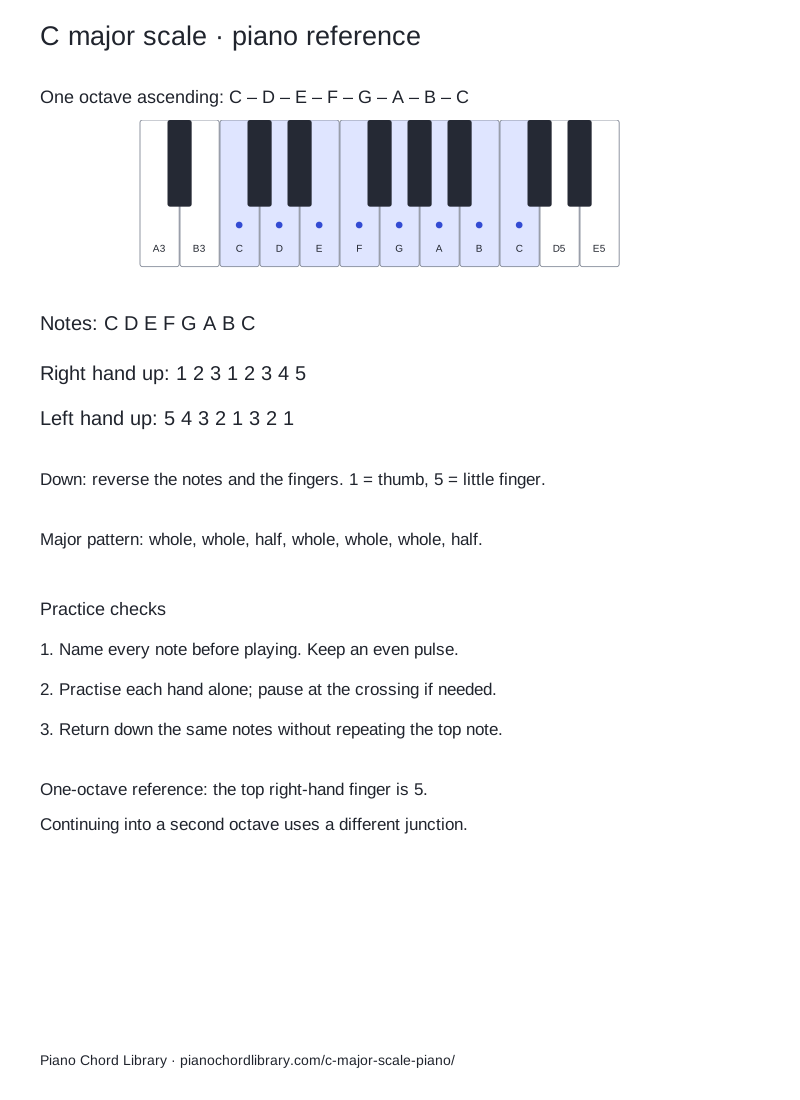
Make the hand change deliberate
Right hand: move the thumb from C to F after playing E with finger 3. Left hand: move finger 3 onto A after playing G with the thumb. Practise each crossing separately before connecting the whole octave.
The top right-hand finger is 5 when you finish this single octave. Continuing into another octave uses the thumb at the octave junction instead. Do not apply the one-octave endpoint unchanged to a longer scale. Keep the movement comfortable and ask a teacher to adapt a fingering if needed.
A short practice task
Play C–D–E–F, pause, then F–G–A–B–C. Use right-hand fingers 1–2–3–1 for the first fragment and 1–2–3–4–5 for the second. The shared F joins the two fragments; when you connect them, play F only once.
Play one note per steady beat. Pause and restart a fragment if the crossing creates a rush or a gap. Once each hand feels predictable, try both hands in separate octaves at a slower pace. Their crossings occur at different notes, so learn that coordination without increasing speed at the same time.
Hear the scale inside a chord
Play the scale, then select its first, third and fifth notes: C–E–G. Those are the C major chord tones. Next play D–F–A using notes from the same scale. This produces D minor, showing why the scale’s white keys do not make every chord major.
A mistake you can diagnose
Do not turn every white-key gap into a whole step. E–F and B–C have no intervening black key and are half steps. Counting physical neighbouring keys confirms the pattern.
Listen to the reference once, then name and play the notes yourself with the sound stopped. Cover the fingering table and write the ascending sequence before checking it. This separates remembering the notes from relying on the highlighted picture.
Compare G major · Print major and natural minor scales in all keys · Explore six scale families
Fingering cross-checked with Fergus Black’s scale guide, C and G major sections. This page’s diagrams and practice tasks are original; it is not an exam syllabus.